Five symptoms of low primary oil in a Harley include abnormal mechanical noise, difficulty shifting gears, clutch slippage, oil leakage, and the lower part of the primary chain being lubed. To check and change the primary oil on your Harley-Davidson, you need to look for these symptoms and then follow the specific guidelines in the Harley service manual for checking and changing the primary oil.
Harley-Davidson motorcycles are renowned for their powerful engines and unique designs. One critical aspect of maintaining a Harley-Davidson is ensuring the primary oil is at the correct level. Over time, the primary oil in a Harley-Davidson may need to be checked and changed to ensure the smooth operation of the motorcycle.
Understanding the symptoms of low primary oil and knowing how to check and change it is essential for every Harley-Davidson owner. This article will provide valuable insights into the symptoms of low primary oil and the necessary steps to check and change the primary oil on a Harley-Davidson.
Symptoms Of Low Primary Oil
Proper maintenance of your Harley-Davidson includes regularly checking and changing the primary oil. The primary oil is essential for lubricating the clutch, chain, and other components in the primary drive system. When the primary oil level is low, it can lead to several symptoms that indicate potential issues. Being aware of these symptoms can help you identify and address low primary oil levels before they cause further damage. Here are the five common symptoms of low primary oil:
Abnormal Mechanical Noise
One of the first signs of low primary oil is abnormal mechanical noise coming from the primary drive system. You may notice a rattling or grinding sound that is not typical for your Harley-Davidson. This noise can occur when the clutch plates are not properly lubricated, causing increased friction and wear. If you hear any unusual sounds, it’s important to check the primary oil level and top it up if necessary.
Difficulty Shifting Gears
Low primary oil can also lead to difficulty shifting gears smoothly. When the clutch plates are not adequately lubricated, they may not engage and disengage properly, resulting in gear shifting problems. You may experience resistance or grinding when trying to shift gears, making it challenging to find the right gear. Checking the primary oil level and adding more if needed can help resolve this issue.
Clutch Slippage
Another symptom of low primary oil is clutch slippage. When the clutch plates do not have enough lubrication, they may not fully engage, causing the clutch to slip under load. This can result in a loss of power and acceleration, making it difficult to ride your Harley-Davidson smoothly. If you notice any signs of clutch slippage, it’s crucial to check the primary oil level and refill it as required.
Chain Not Lubricated
The primary oil also plays a vital role in lubricating the chain in the primary drive system. When the oil level is low, the chain may not receive adequate lubrication, leading to increased friction and wear. You may observe signs of chain dryness, such as rust, excessive noise, or stiff movement. Checking the primary oil level regularly and adding more when needed can help keep your chain properly lubricated.
Damage To Primary
If left unaddressed, low primary oil levels can cause damage to the primary drive system. Insufficient lubrication can result in increased friction and heat, leading to premature wear and potential component failure. This can be costly to repair and may even require a complete replacement of the affected parts. Regularly checking and maintaining the proper level of primary oil can help prevent such damage and ensure the longevity of your Harley-Davidson.

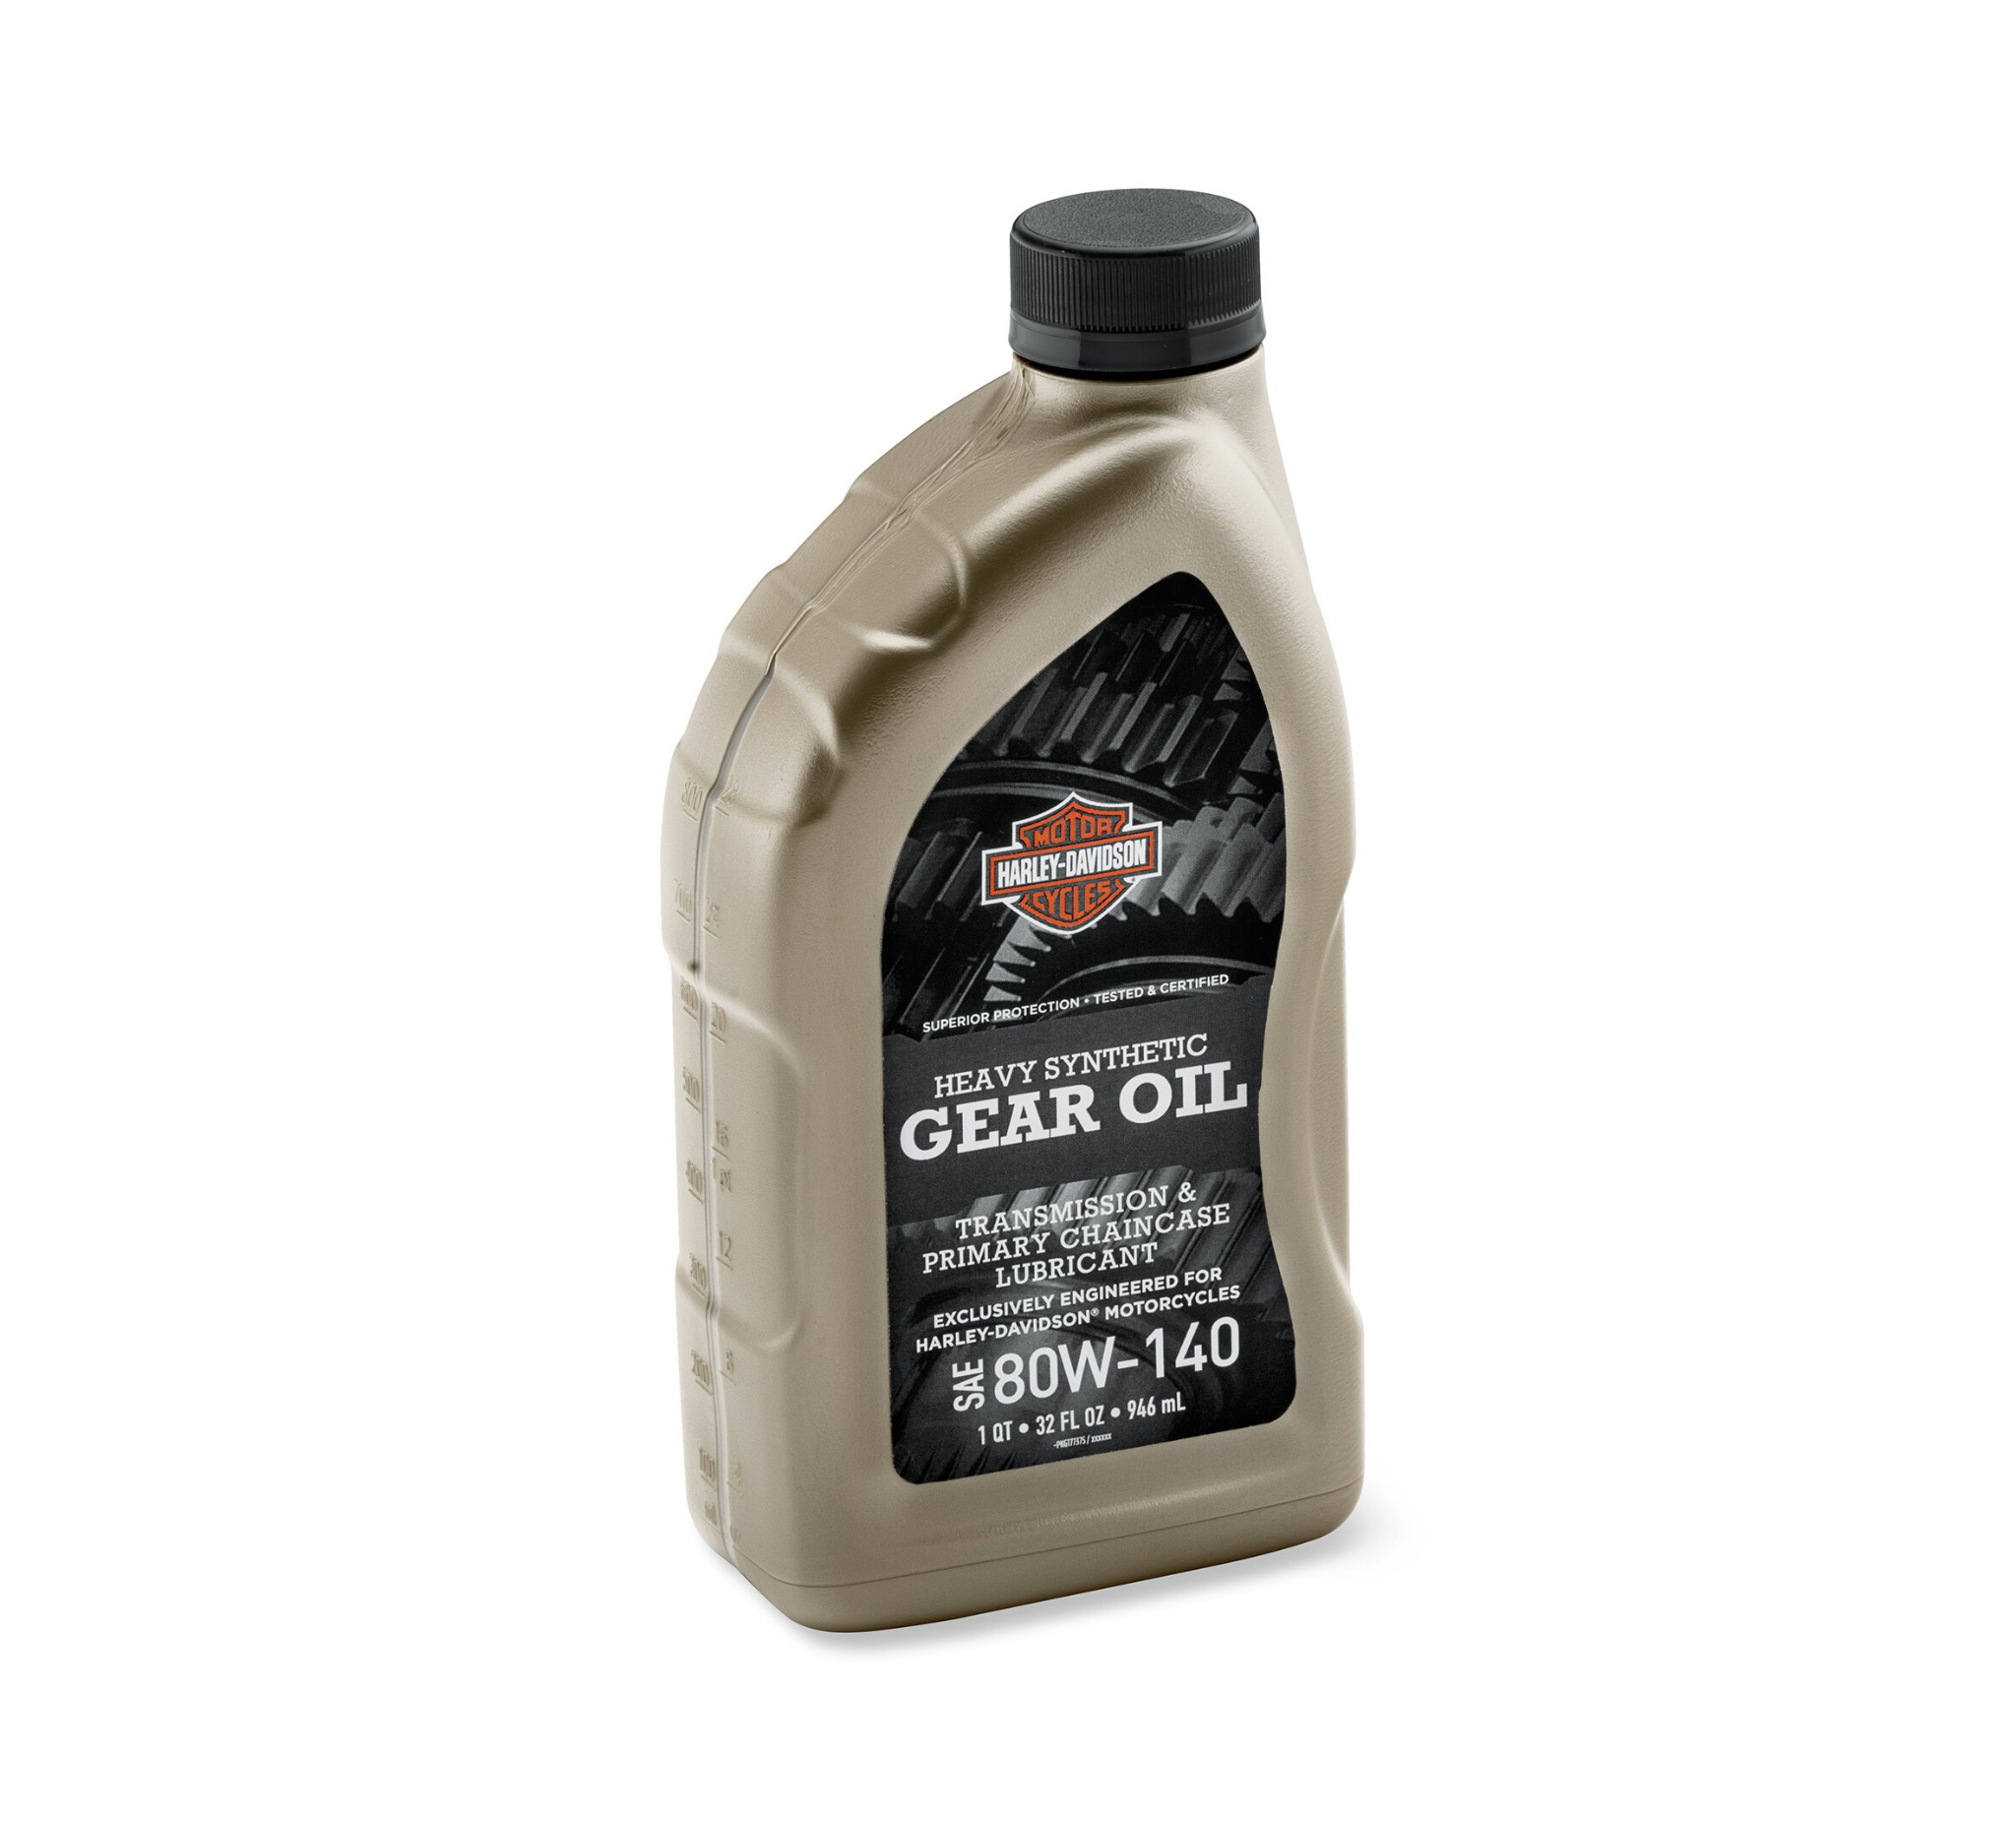
Credit: blog.amsoil.com
How To Check Primary Oil On Your Harley-davidson
Do you know how to check and change the primary oil on your Harley-Davidson? Low primary oil can cause several symptoms such as abnormal mechanical noise, difficulty shifting gears, and clutch slippage. To avoid these issues, it’s important to regularly check and change your primary oil.
Follow the guidelines provided to ensure proper maintenance of your Harley-Davidson.
Tools Needed
Before you begin checking the primary oil on your Harley-Davidson, make sure you have the following tools:
- Socket wrench
- Oil drain pan
- Funnel
- Shop towels
- Torque wrench
Removing The Derby Cover
To access the primary oil, you first need to remove the derby cover. Follow these steps:
- Locate the derby cover on the left side of the primary cover.
- Use a socket wrench to remove the bolts securing the derby cover.
- Gently lift the derby cover off the primary cover.
Draining The Primary Oil
Now that you have removed the derby cover, it’s time to drain the old primary oil. Here’s how:
- Position an oil drain pan underneath the primary cover.
- Locate the drain plug at the bottom of the primary cover.
- Use a socket wrench to remove the drain plug and let the old oil drain completely into the drain pan.
Disposing Of Used Oil
Proper disposal of used oil is important for the environment. Here’s what you need to do:
- Transfer the used oil from the drain pan to a suitable container.
- Take the container to a recycling center or an authorized oil disposal facility.
- Do not pour the used oil down the drain or dispose of it in the trash.
Refilling Primary Oil
Now it’s time to refill the primary oil with fresh oil. Follow these steps:
- Refer to your Harley-Davidson owner’s manual to determine the recommended type and quantity of primary oil.
- Using a funnel, pour the new oil into the primary cover through the derby cover opening.
- Check the oil level using the dipstick or sight glass on the primary cover. Add more oil if necessary to reach the correct level.
- Tighten the derby cover bolts to the specified torque using a torque wrench.
Math Lesson For Primary Oil
Understanding the math behind primary oil capacity is essential. Here’s a quick lesson:
| Primary Capacity | Twin Cam Capacity |
|---|---|
| 3 quarts | 32 ounces |
Installing Derby Cover
Now that you have checked and refilled the primary oil, it’s time to reinstall the derby cover. Here’s how:
- Place the derby cover back onto the primary cover.
- Insert and tighten the bolts using a socket wrench.
- Ensure the bolts are tightened to the specified torque.
Conclusion
Checking the primary oil on your Harley-Davidson is a crucial maintenance task to ensure smooth operation and longevity of your bike. By following these steps and using the right tools, you can easily check and change the primary oil on your Harley-Davidson, keeping your ride running smoothly for miles to come.
How Often Should Harley Primary Oil Be Changed?
To maintain optimal performance, Harley primary oil should be changed every 5,000 miles or annually, as recommended by the manufacturer. Regular oil changes help prevent wear and tear and ensure the smooth operation of your Harley-Davidson motorcycle.
Regular maintenance is essential for keeping your Harley-Davidson running smoothly and ensuring its longevity. One crucial aspect of maintenance is changing the primary oil. The primary oil plays a vital role in lubricating the clutch and primary chain, preventing friction and wear. Over time, the oil can become contaminated, leading to decreased performance and potential damage to your bike.
Engine Oil Change Interval
When it comes to engine oil, Harley-Davidson recommends changing it every 5,000 miles or every six months, whichever comes first. This interval ensures that your engine remains properly lubricated, preventing any potential damage caused by old or dirty oil. Remember to use high-quality oil that meets the specifications outlined in your owner’s manual.
Transmission Oil Change Interval
Just like the engine oil, the transmission oil also needs regular attention. Harley-Davidson suggests changing the transmission oil every 10,000 miles or once a year, whichever comes first. This interval ensures optimal performance and smooth gear shifts. Make sure to use the recommended transmission oil type for your Harley-Davidson model.
Primary Oil Change Interval
Now let’s talk about the primary oil. Harley-Davidson recommends changing the primary oil every 10,000 miles or once a year, whichever comes first. This interval ensures that the clutch and primary chain are properly lubricated, reducing wear and tear. Regularly checking and changing the primary oil will help maintain the performance and longevity of your Harley-Davidson.
It’s important to note that these intervals may vary depending on your riding conditions. If you frequently ride in extreme temperatures or engage in heavy-duty activities like towing, it may be necessary to change the oil more frequently. Always consult your owner’s manual for specific guidelines.
Realizing the need for oil change, ensuring that you adhere to the recommended intervals will keep your Harley-Davidson in top shape and provide you with a smooth and enjoyable riding experience.
Credit: www.harley-davidson.com
How To Change Primary Oil on Your Harley-davidson
To maintain your Harley-Davidson’s performance, it’s crucial to recognize the 5 symptoms of low primary oil. Unusual mechanical noise, gear-shifting difficulties, and clutch slippage are indicators. Learn how to check and change the primary oil to ensure smooth operations and extend your bike’s longevity.
Changing the primary oil on your Harley-Davidson is an essential maintenance task that ensures the smooth operation of your bike’s primary components. By following these simple steps, you can easily change the primary oil yourself and keep your Harley running in top condition.
Tools Needed
Before you begin, gather the following tools and materials:
- Socket wrench
- Torque wrench
- Oil drain pan
- New primary oil
- Funnel
Removing The Derby Cover
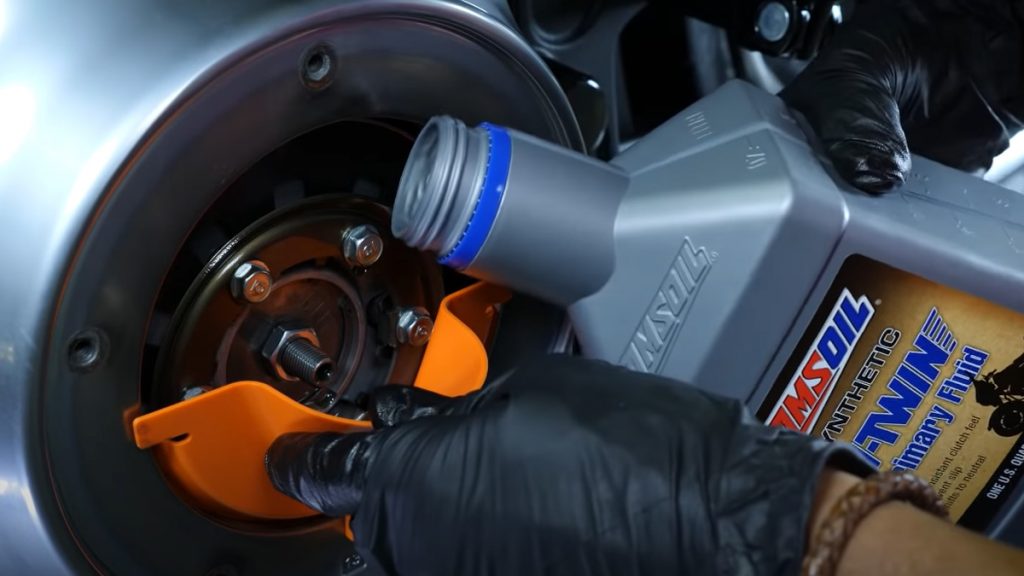
Start by removing the derby cover, which is located on the primary housing. Use a socket wrench to loosen the bolts securing the cover. Once the bolts are loosened, carefully remove the derby cover and set it aside.
Draining The Primary Oil
Next, position an oil drain pan beneath the primary housing to catch the old oil. Locate the drain plug on the bottom of the primary housing and use a socket wrench to remove it. Allow the old oil to completely drain into the pan.
Disposing Of Used Oil
Properly dispose of the used oil by transferring it into a sealed container. You can take the container to a local recycling center or an auto parts store that accepts used oil for recycling. Do not pour the used oil down the drain or dispose of it in the trash.
Refilling Primary Oil
Once the old oil has been drained, clean the drain plug and securely tighten it back onto the primary housing. Using a funnel, carefully pour the recommended amount of new primary oil into the primary housing. Refer to your owner’s manual for the specific oil capacity and type required for your Harley-Davidson model.
Math Lesson For Primary Oil
When calculating the amount of oil needed for your Harley’s primary housing, remember this simple formula: oil capacity = primary housing volume – clutch volume. By subtracting the clutch volume from the primary housing volume, you can determine the correct amount of oil to use.
Installing Derby Cover
After refilling the primary oil, wipe any excess oil from the derby cover and carefully place it back onto the primary housing. Use a torque wrench to tighten the bolts to the manufacturer’s recommended torque specifications. That’s it! By following these steps, you can easily change the primary oil on your Harley-Davidson and keep your bike running smoothly. Regularly checking and changing the primary oil is crucial for maintaining the performance and longevity of your Harley. Remember to always refer to your owner’s manual for specific instructions and recommendations.
How To Check Harley Gearbox Oil?
If you experience difficulty shifting gears, clutch slippage, or abnormal mechanical noise, these could be signs of low primary oil levels in your Harley-Davidson. To avoid these issues, you should regularly check and change your primary oil. You can learn how to do this by watching instructional videos or consulting with a professional mechanic.
How to Check Harley Gearbox Oil? Checking fluid levels One of the most important things you can do for your Harley-Davidson motorcycle is to check the fluid levels regularly. This includes the primary oil, gearbox oil, and engine oil. In this blog post, we will focus on checking the gearbox oil. To check the gearbox oil level, the motorcycle must be on a level surface and the engine must be warmed up to operating temperature. Remove the oil filler plug located on the side of the gearbox and check the oil level. The oil level should be between the two marks on the dipstick. Importance of fluid levels Checking the fluid levels regularly is crucial to maintaining the health of your motorcycle. Low fluid levels can cause damage to the engine, gearbox, and other critical components. If the gearbox oil level is low, it can cause abnormal mechanical noise, difficulty shifting gears, and clutch slippage. On the other hand, overfilling the gearbox with oil can also cause damage to the engine and other components. It is essential to maintain the correct fluid levels to ensure your Harley-Davidson motorcycle runs smoothly and efficiently. Conclusion In conclusion, checking the gearbox oil level is an essential part of maintaining your Harley-Davidson motorcycle. Regularly checking the fluid levels and maintaining the correct levels is crucial to ensure your motorcycle runs smoothly and efficiently. If you notice any symptoms of low primary oil or gearbox oil, such as abnormal mechanical noise, difficulty shifting gears, or clutch slippage, it is important to check the fluid levels and address any issues promptly. By following these simple steps, you can keep your motorcycle running smoothly and enjoy the open road with peace of mind.
How Much Oil To Put In A Harley Primary?
Learn the 5 symptoms of low primary oil in your Harley-Davidson and discover how to check and change the primary oil on your bike. Avoid common phrases and get expert tips on maintaining your Harley’s primary oil level for optimal performance.
Checking Primary Fluid Levels
Checking the primary fluid levels in your Harley-Davidson is crucial for maintaining the optimal performance of your bike. Ensure that the motorcycle is in an upright position when checking the primary fluid levels to get an accurate reading.
How Much Fluid To Put In
When it comes to how much fluid to put in your Harley primary, the specific amount will depend on the model and year of your bike. It is essential to consult your owner’s manual or a qualified technician to determine the exact quantity required for your Harley-Davidson.
Different Numbers For Primary Fluid Capacity
The primary fluid capacity can vary between different Harley-Davidson models. It is crucial to refer to the manufacturer’s specifications to ensure you are using the correct amount of fluid for your specific bike model. Always follow the recommended capacity outlined in the owner’s manual to maintain the proper functioning of your Harley’s primary system.
Where To Check Primary Fluid
The primary fluid level can typically be checked through a designated inspection cover on the primary case of your Harley-Davidson. This allows for convenient access to monitor the primary fluid levels and ensure they are within the recommended range for optimal performance.
Missing Primary Oil
One of the critical symptoms of Harley low primary oil is missing primary oil. It is essential to ensure that the primary oil level is adequate to maintain optimal performance and prevent potential damage to the motorcycle’s engine.
No Oil In Primary After Dealership Oil Change
It is vital to inspect the primary oil level after a dealership oil change. Sometimes, there might be instances where the primary oil is not adequately filled during the oil change process. Ensure that the primary oil level is at the recommended capacity to prevent any issues related to low primary oil.
Pouring In Primary Lube
Regularly check the primary oil level and top it up with the recommended primary lube if the level is found to be low. It is crucial to use the specific primary lube recommended by the manufacturer to ensure optimal performance and longevity of the motorcycle’s primary system.
Keeping An Eye on Primary Oil Level
Consistently monitor the primary oil level to detect any potential leaks or consumption. By keeping a close watch on the primary oil level, you can proactively address any issues related to low primary oil and prevent any adverse effects on the motorcycle’s primary system.
Harley Davidson Primary Oil Change
Looking to check and change the primary oil on your Harley-Davidson? Learn the 5 symptoms of low primary oil and how to properly check and change it with this informative guide. Avoid abnormal mechanical noise, difficulty shifting gears, and clutch slippage by maintaining the right oil level in your Harley-Davidson.
Harley Davidson Primary Oil Change As a Harley Davidson owner, it’s essential to ensure that your motorcycle is in the best condition possible. One way to do that is by changing the primary oil regularly. Low primary oil can cause a lot of problems for your motorcycle. It’s important to know the symptoms of low primary oil and how to check and change it. In this article, we will focus on the subheading: Harley Davidson Primary Oil Change, and discuss the tools needed, removing the derby cover, draining the primary oil, disposing of used oil, refilling primary oil, math lesson for primary oil, and installing derby cover. Tools needed Before starting the primary oil change, it’s important to gather all the necessary tools. Here are the tools you will need for the job: – Drain pan – Torx wrench – Primary oil – Funnel – Clean rag – Socket set – Oil filter wrench Removing the derby cover The first step in changing the primary oil is removing the derby cover. The derby cover is located on the left side of the engine. To remove the derby cover, you will need a Torx wrench. Loosen all the bolts on the derby cover and remove it carefully. Be sure to keep the bolts in a safe place so that you don’t lose them. Draining the primary oil Once you have removed the derby cover, you will need to drain the primary oil. Place a drain pan underneath the primary case and remove the drain plug. Allow the oil to drain completely into the pan. Be sure to wipe the area around the drain plug with a clean rag to ensure that there is no dirt or debris. Disposing of used oil After draining the oil, you will need to dispose of the used oil properly. Pour the used oil into a container and take it to a recycling center or a mechanic shop that accepts used oil. Never dispose of used oil in the trash or down the drain. Refilling primary oil Now it’s time to refill the primary oil. Use a funnel to pour the recommended amount of primary oil into the primary case. The amount of oil needed may vary depending on the model of your motorcycle. Refer to your owner’s manual for the correct amount. Math lesson for primary oil It’s important to note that the primary oil level should be checked when the motorcycle is upright. This is because the primary oil capacity is based on the level of the motorcycle. When the motorcycle is on the jiffy stand, the oil level will be lower. The amount of oil added to the primary case should be based on the motorcycle’s upright level. Installing derby cover Once you have refilled the primary oil, it’s time to install the derby cover. Carefully place the derby cover back onto the primary case and tighten the bolts. Be sure not to over-tighten the bolts as this can cause damage to the cover. Conclusion Changing the primary oil on your Harley Davidson motorcycle is an essential part of maintenance. By following these steps, you can ensure that your motorcycle is in the best condition possible. Remember to check the primary oil level regularly and change the oil as needed.
Credit: blog.amsoil.com
Frequently Asked Questions
How To Check Harley Primary Oil?
To check Harley primary oil, make sure your bike is upright and remove the derby cover. The oil level should be between the lines on the clutch pack. If it’s low, add oil until it reaches the correct level. Check the oil level periodically and change it according to the manufacturer’s recommendations.
How Often Should Harley Primary Oil Be Changed?
Harley primary oil should be changed every 5,000 miles or once a year to maintain optimal performance.
How To Check Harley Gearbox Oil?
To check Harley gearbox oil, park the bike on a level surface, remove the dipstick, wipe it clean, reinsert it, and then remove to check oil level.
How Much Oil to Put in a Harley Primary?
To put oil in a Harley primary, you must adhere to the manufacturer’s recommended oil capacity. The oil capacity varies with the model and year of your bike. To check the correct oil capacity, refer to the owner’s manual or consult a professional mechanic.
Conclusion
If you notice abnormal mechanical noise, difficulty shifting gears, or clutch slippage in your Harley-Davidson, it may be a sign of low primary oil. Checking and changing your primary oil regularly is crucial for the smooth operation of your bike.
By following the steps outlined in this blog post, you can ensure that your primary oil is at the correct level and avoid potential damage to your bike’s primary components. Don’t forget to consult your service manual for specific instructions and keep an eye on the primary oil level to catch any leaks early on.
Happy riding!