To reset the Honda oil maintenance light, turn the key to the “On” position without starting the engine. Press the gas pedal fully three times within ten seconds, then turn off the vehicle.
Start the car to ensure the oil light has been reset successfully. This process helps in maintaining your Honda’s oil life indicator accurately and ensures timely oil changes for optimal engine performance. By following these simple steps, you can easily reset the oil maintenance light on your Honda vehicle, keeping your engine running smoothly and efficiently.
Remember to perform this reset whenever you change the oil to ensure your Honda continues to operate at its best.
Credit: www.youtube.com
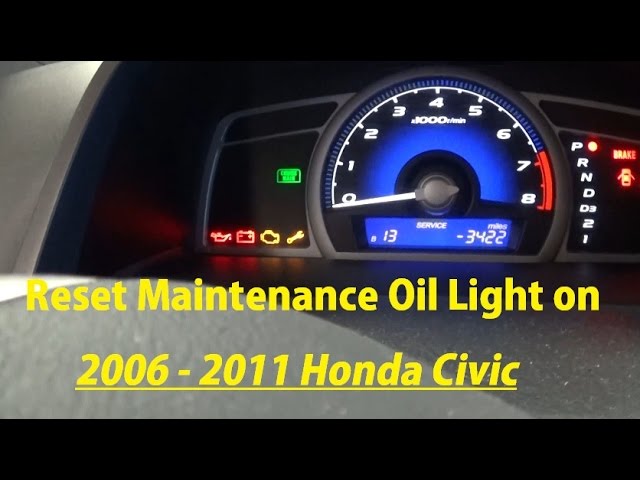
Introduction To Honda Oil Maintenance Light
The Honda Oil Maintenance Light is a crucial indicator that helps you keep track of your vehicle’s oil change schedule. Understanding how to reset this light is important for maintaining the performance and longevity of your Honda vehicle.
Why It’s Important To Reset
Resetting the Honda Oil Maintenance Light is essential to ensure that your vehicle’s oil change intervals are accurately monitored. Failing to reset the light can lead to improper maintenance scheduling, potentially causing engine damage and reducing fuel efficiency.
What The Light Indicates
The Honda Oil Maintenance Light indicates that the vehicle is due for an oil change. It serves as a reminder to maintain the engine’s lubrication system, which is crucial for optimal performance and longevity of the vehicle.
Preparation For Resetting The Light
To reset the Honda oil maintenance light, start by turning the key to the “On” position without starting the engine. Then, press the gas pedal three times within ten seconds and turn off the vehicle. Finally, start the car to ensure that the oil light has been successfully reset.
Tools And Materials Needed:
To reset the Honda oil maintenance light, you will need a few tools and materials, including a wrench, oil filter, oil drain pan, and fresh oil. It’s important to use the correct type of oil recommended by the manufacturer to ensure optimal performance and longevity of your vehicle.Safety Precautions:
Before resetting the Honda oil maintenance light, it’s important to take certain safety precautions to prevent any accidents. Make sure your car is parked on a level surface and the engine is turned off. Wear gloves and protective eyewear to prevent any oil splatter or debris from getting into your eyes. Also, make sure the engine is cool to avoid any burns or injuries.Preparing For Resetting The Light:
To reset the Honda oil maintenance light, turn your key to the “On” position (which is two turns of the key) without starting the engine. Press and hold the “Select/Reset” button on the instrument panel, then turn the key to the “Off” position while still holding the button. Release the button, then turn the key back to the “On” position to confirm the light has been reset. It’s important to follow these steps precisely and in the correct order to ensure proper resetting of the light. In conclusion, resetting the Honda oil maintenance light is a simple process that can be done with a few tools and materials. However, taking the necessary safety precautions and following the steps precisely is crucial to prevent any accidents and ensure the light is reset properly.Step-by-step Reset Instructions
Resetting the oil maintenance light on your Honda is a simple process that you can do yourself. Follow these step-by-step instructions to reset the maintenance light and ensure your vehicle is running smoothly.
Starting The Vehicle
- Turn the key to the “On” position without starting the engine.
- Avoid starting the engine at this point.
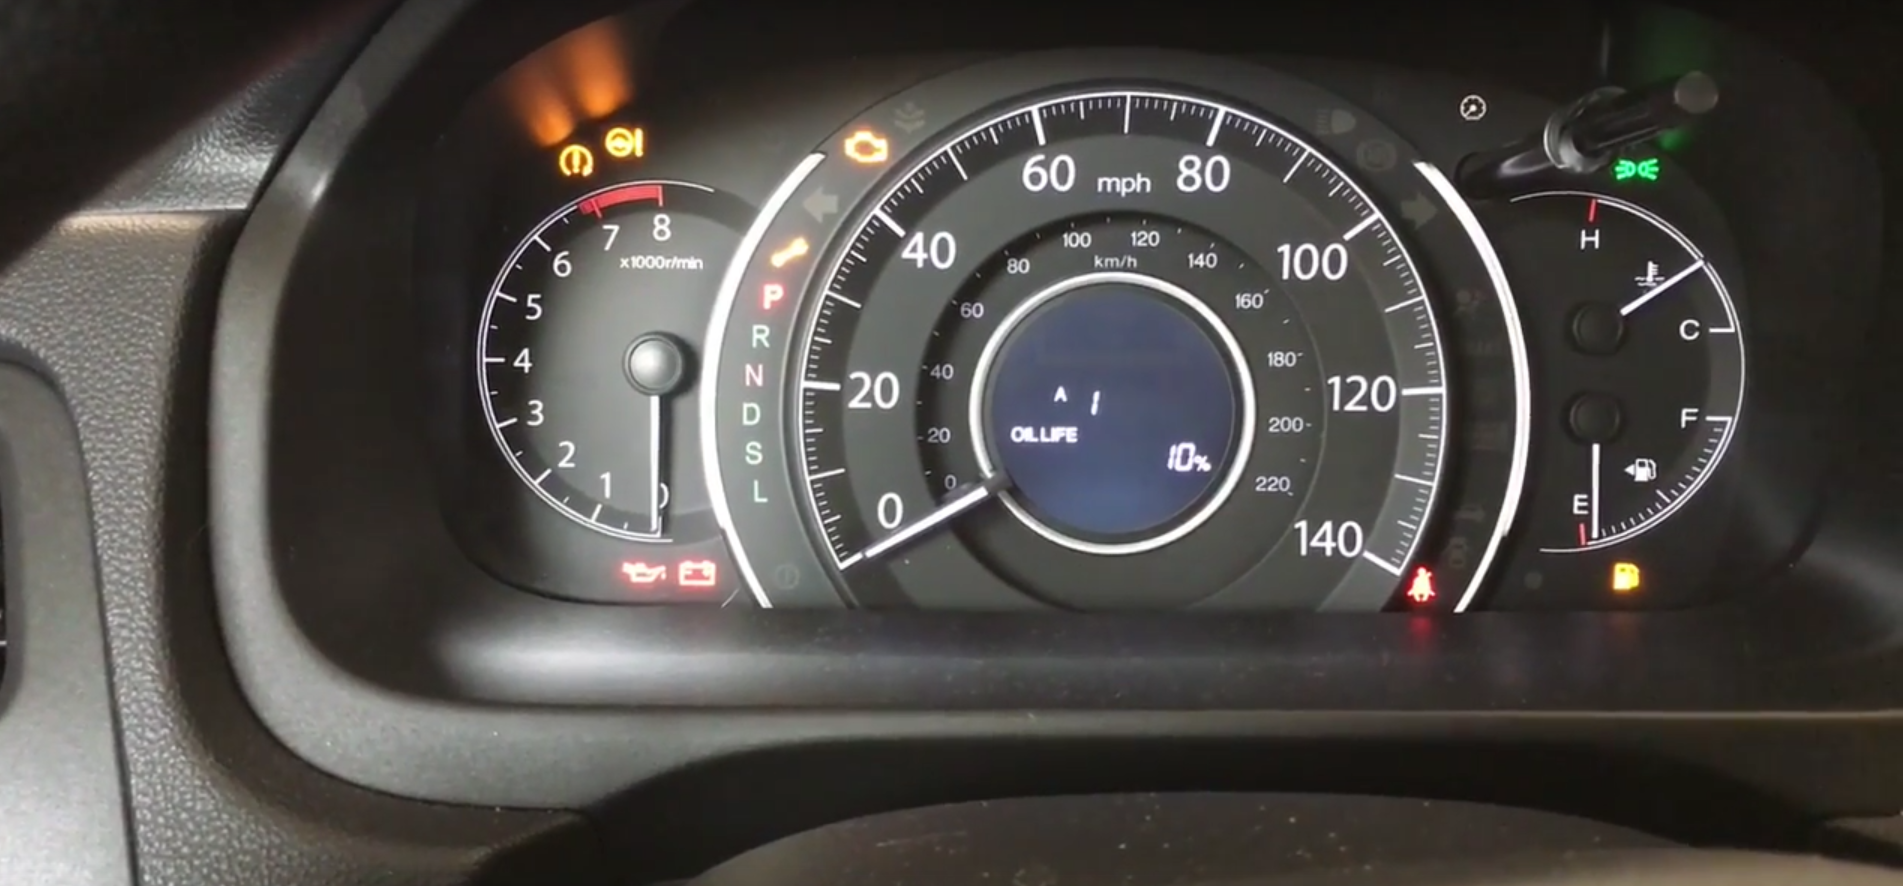
Accessing The Oil Life Display
- Locate and press the “Info” button on the steering wheel to enter the oil life display mode.
- Scroll through the menu options until you find the “Oil Life” indicator.
Performing The Reset Procedure
- Once the “Oil Life” indicator is displayed, press and hold the “Info” button until the oil life percentage starts flashing.
- Release the button and then press and hold it again until the oil life percentage resets to 100%.
- Confirm that the maintenance light has been successfully reset by starting the vehicle and checking that the light no longer appears.

Credit: www.hondaofmentor.com
Troubleshooting Common Issues
To reset the Honda Oil Maintenance Light, first turn the key to the “On” position, then press the gas pedal three times within ten seconds. Next, turn off the vehicle and start it again to ensure the light has been successfully reset.
When the light doesn’t reset If you’ve followed the standard procedure to reset the oil maintenance light on your Honda but the light stubbornly refuses to go away, there are a few troubleshooting steps you can take to resolve the issue. One common problem could be related to a faulty oil pressure sensor, which may need to be replaced. Another possibility is a malfunction in the vehicle’s electronic system, which can prevent the reset process from being completed successfully. In such cases, it’s advisable to consult a certified Honda technician to diagnose and rectify the underlying issue. Dealing with persistent warning signals If you find that the oil maintenance light continues to illuminate even after you’ve reset it, this could indicate a more serious problem with your vehicle. It’s crucial not to ignore persistent warning signals, as they could be indicative of underlying issues that require immediate attention. When confronted with this situation, it’s important to first verify that the oil level and quality are within the manufacturer’s recommended specifications. If everything checks out with the oil, it’s advisable to conduct a thorough inspection of the vehicle’s engine and electronic systems to identify any potential malfunctions that may be triggering the persistent warning signals. In cases where the warning signals persist despite these efforts, seeking professional assistance from a qualified Honda service center or technician is highly recommended. A trained professional will be equipped to diagnose and address any underlying issues to ensure the ongoing safety and optimal performance of your vehicle. By addressing these common issues and troubleshooting methods, you can effectively resolve persistent challenges related to resetting the Honda oil maintenance light and maintain the reliable performance of your vehicle.Understanding Maintenance Minder Codes
Deciphering The Code Meanings
When your Honda’s maintenance light comes on, it’s important to understand the Maintenance Minder Codes to address the specific issue. These codes provide valuable information about the maintenance required by your vehicle. Each code consists of a main code and a sub-code, which indicate the type of service needed.
Actions To Take For Different Codes
Deciphering the code is the first step, and then you need to take appropriate action based on the specific Maintenance Minder Code. The table below outlines the meaning and action required for each code.
| Code | Meaning | Action |
|---|---|---|
| A | Replace engine oil | Change the engine oil and reset the system. |
| B | Replace engine oil and oil filter | Change the engine oil and oil filter, and reset the system. |
| 1 | Tire rotation | Rotate the tires and reset the system. |
| 2 | Replace air cleaner element, check drive belt, and replace dust and pollen filter | Replace the air cleaner element, check the drive belt, and replace the dust and pollen filter. Reset the system afterward. |
| 3 | Replace transmission fluid and transfer fluid (if equipped) | Replace the transmission fluid and transfer fluid (if equipped) and reset the system. |
Credit: www.howtoautomotive.com
Model-specific Reset Guides
Discover Model-Specific Reset Guides for easily resetting the Honda oil maintenance light. Begin by turning the key to the “On” position, then fully press the gas pedal three times within ten seconds. Verify the reset by starting the vehicle.
Resetting Oil Light In Honda Civic
To reset the oil maintenance light in a Honda Civic, follow these steps:
- Turn the ignition to the “On” position without starting the engine.
- Press the “Select/Reset” knob until the oil life indicator is displayed.
- Press and hold the “Select/Reset” knob until the oil life percentage starts to blink.
- Release the knob, then press and hold it again until the oil life resets to 100%.
- Turn the ignition off and back on to confirm the reset.
Honda Accord Oil Reset
For resetting the oil maintenance light in a Honda Accord, use these instructions:
- Insert the key into the ignition and turn it to the “On” position.
- Press the “Select” button until the oil life percentage is displayed.
- Press and hold the “Reset” button until the oil life percentage starts blinking.
- Release the button, then press and hold it again until the oil life resets to 100%.
- Turn off the ignition and restart the car to ensure the reset is successful.
Honda Crv And Pilot Reset Process
Follow these steps to reset the oil maintenance light in Honda CRV and Pilot models:
- Insert the key and turn it to the “On” position without starting the engine.
- Press the “Menu” button on the steering wheel controls until you reach the “Maintenance” screen.
- Select “Oil Life Reset” and press “Enter” or “OK” to confirm the reset.
- Turn off the ignition and start the car to verify that the oil light has been reset.
Maintenance Tips After Reset
After resetting the Honda oil maintenance light, remember to check oil levels regularly. Monitor engine performance and schedule timely oil changes to ensure optimal vehicle health. Following these maintenance tips post-reset will help keep your Honda running smoothly.
Maintenance Tips After Reset Resetting the Honda Oil Maintenance Light is a necessary procedure that keeps your car running smoothly. But, it’s not enough to just reset the light; you need to also take care of your car’s maintenance. Here are some maintenance tips to keep your Honda in top condition after resetting the oil maintenance light. Checking oil levels One of the most important things you can do to maintain your Honda after resetting the oil maintenance light is to check your oil levels regularly. Low oil levels can cause serious damage to your engine and reduce its lifespan. You can easily check your oil levels by using the dipstick under the hood of your car. Make sure to do this when the engine is cool and on a level surface. Scheduling regular maintenance Another important step in maintaining your Honda after resetting the oil maintenance light is to schedule regular maintenance. This includes oil changes, tire rotations, and inspections of your car’s systems. Regular maintenance ensures that your car is running efficiently and can also prevent potential problems from becoming major repairs down the line. Ensuring proper tire pressure Proper tire pressure is crucial for your car’s performance and safety. It also affects fuel efficiency and tire lifespan. Make sure to check your tire pressure regularly, especially before long trips. You can find the recommended tire pressure in your car’s owner manual or on a sticker inside the driver’s door. In conclusion, resetting the Honda Oil Maintenance Light is just the first step in keeping your car running smoothly. By following these maintenance tips, you can ensure that your car is in top condition and avoid costly repairs. Remember to check your oil levels, schedule regular maintenance, and ensure proper tire pressure. Your Honda will thank you for it!Faqs On Honda Oil Maintenance Light
After changing the oil in your Honda vehicle, it’s important to reset the oil maintenance light to ensure that the system accurately tracks when your next oil change is due. Here’s how to reset the light:
- Insert the key into the ignition and turn it to the “On” position, without starting the engine.
- Completely press the accelerator pedal three times within 10 seconds.
- Turn off the ignition.
- Start the engine to verify if the oil maintenance light has been successfully reset.
It is recommended to reset the oil maintenance light every time you change the oil in your Honda vehicle. This ensures that the system accurately monitors the condition of the oil and prompts you for the next oil change at the appropriate time.
Frequently Asked Questions
How To Reset Honda Oil Maintenance?
To reset Honda oil maintenance, turn key to “On” without starting engine. Press gas pedal three times, turn off car, then start to check reset.
How Do You Reset The Oil Maintenance Light?
To reset the oil maintenance light, turn the key to the “On” position (two turns) without starting the engine. Fully press the gas pedal three times within 10 seconds, then turn off the vehicle. Start the car to confirm the oil light has reset.
How Do You Reset The Maintenance Light On A Honda Past Due?
To reset the maintenance light on a Honda past due, turn the key to the “On” position without starting the engine. Fully press the gas pedal three times within ten seconds, then turn off the vehicle. Start it again to ensure the oil light has reset.
How To Reset Honda Fit After Oil Change?
To reset Honda Fit after an oil change, turn the key to the “On” position (without starting the engine), then press the gas pedal down completely three times within ten seconds. Turn off the vehicle, then start it up again to check if the oil light has reset.
Conclusion
Resetting your Honda oil maintenance light is a simple process that can be done quickly. By following the steps outlined in this guide, you can ensure your vehicle is properly maintained and running smoothly. Don’t forget to check your oil light after resetting for confirmation.